10 easy steps to simulate in OpenFOAM with docker
Published:
OpenFOAM is widely used computational fluid dynamics (CFD) software tool which is opensourced and is actively supported in terms of development. It also has wide community especially in research field. It is written in C++ and I have used it for almost 2.5 years as part of my PhD to perform direct numerical simulations (DNS). I personally observed a good scaling u to 3000 cores (in 2017, so it must be much better now). I wanted to retry the OpenFOAM on my personal laptop with docker. This post documents the same. There are already some excellent resources like the detailed one from CFDEngine, Official OpenFOAM.com, and this YouTube video. My intention is to build on the top of these.
Setting up OpenFOAM
Make sure that you’ve docker setup up and running, if it is not installed then you can follow the official docker installation. One can natively build the docker image for OpenFOAM and it definitely provide the opportunity to customize and optimize the setup. However, in this case, we will follow the image from OpenCFD
With terminal, create a directory where we will store the base setup along with the OpenFOAM case:
mkdir openfoam && cd "$_"OpenCFD provides an ready-to-use docker setup and we can download this file (check the link for newer version!):
curl https://develop.openfoam.com/packaging/containers/-/raw/main/openfoam-docker > openfoam-docker. This will basically download the script inside the folder. This script takes care of pulling the image, volume mounting etc.Set the proper permissions:
chmod +x openfoam-dockerVerify the script:
./openfoam-docker -help-fullorbash openfoam-docker -help-fullPerform dry-run which will print a command that will warrant that everything is good so far:
./openfoam-docker -dry-runNow, we are all set to run it (interactive mode). Let’s get OpenFOAM running:
./openfoam-docker. It can take some time during the first run as it will download the necessary imagesWith this, we are all set to experiment. Above step basically launces an docker environment with all necessary installations. Moreover, it mounts the current directory from where we executed the command. This will enable use to “make visible” our data which are in this directory to inside the container. It means we can clone an example case from another terminal instance to here.
Download an specific example or clone entire repo (that has same version as of installation!). In this case, let’s clone entire repo. From a new terminal, clone the repository in the same directory (so that it appears inside the container):
git clone https://develop.openfoam.com/Development/openfoam.gitStart a sample simulation on pitzDaily with simpleFoam. a. From the first terminal (i.e., the terminal from where we are inside the container with openfoam). Go to the tutorial directory:
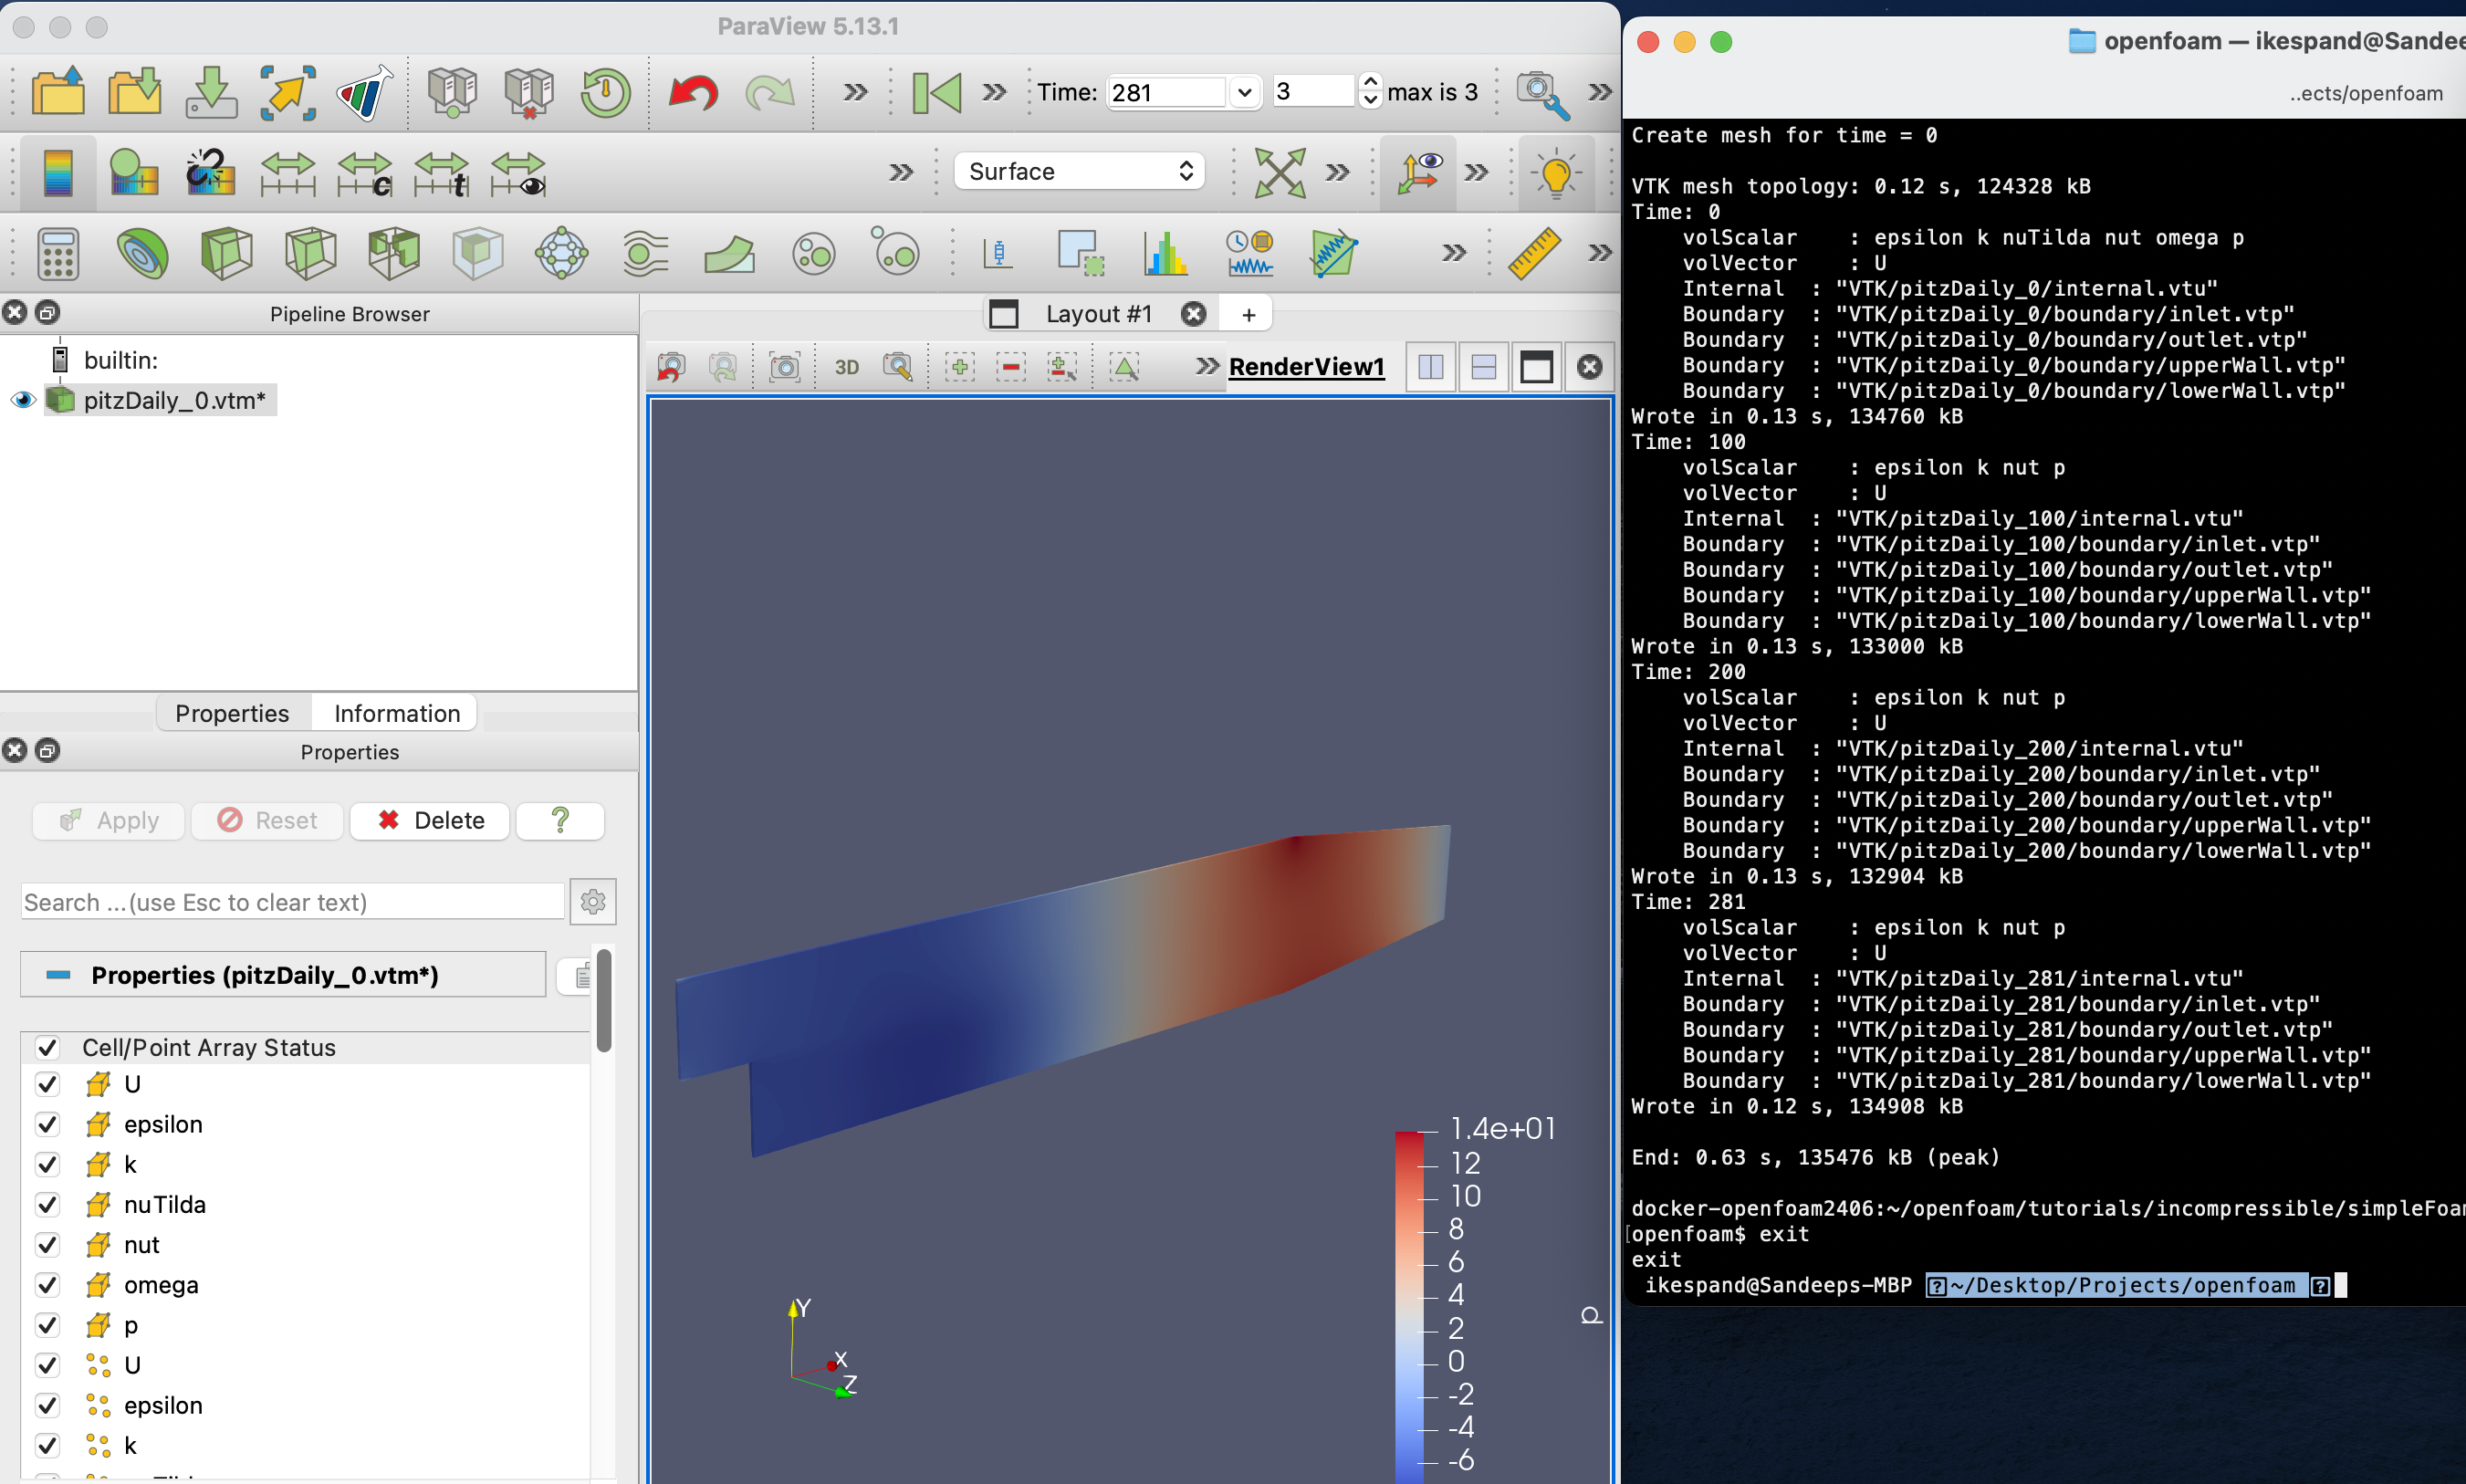
cd openfoam/tutorials/incompressible/simpleFoam/pitzDailyb. Create the mesh:blockMesh. It should generateconstant/polymesh. c. Run the solver and wait for for few seconds:simpleFoam. It should create100and200folders. d. Visualization: As we are in inside the container, therefore, recommended way is to use native Paraview on the host machine. We can either usefoamToVTKto convert the data into VTK which we can visualize in ParaView and can also use with Python/Matlab. Following screenshot depicts the Paraview and conversion output in terminal.
My intention was to run in non-interactive fashion where I could run several use-cases parallely with some automatization. User guide also explains this part very well. Steps, that I followed:
- For the sake of simplicity, we copy a sample case from the above cloned repo. Here, I am using
openfoam/tutorials/heatTransfer/buoyantPimpleFoam/hotRoom. After copying the tutorial, we modify the
Allrunscript so that it can also generate VTK files. It looks as follow after the change:#!/bin/sh cd "${0%/*}" || exit # Run from this directory . ${WM_PROJECT_DIR:?}/bin/tools/RunFunctions # Tutorial run functions #------------------------------------------------------------------------------ restore0Dir runApplication blockMesh runApplication setFields runApplication $(getApplication) runApplication foamToVTK #------------------------------------------------------------------------------Now execute the entire setup: From the
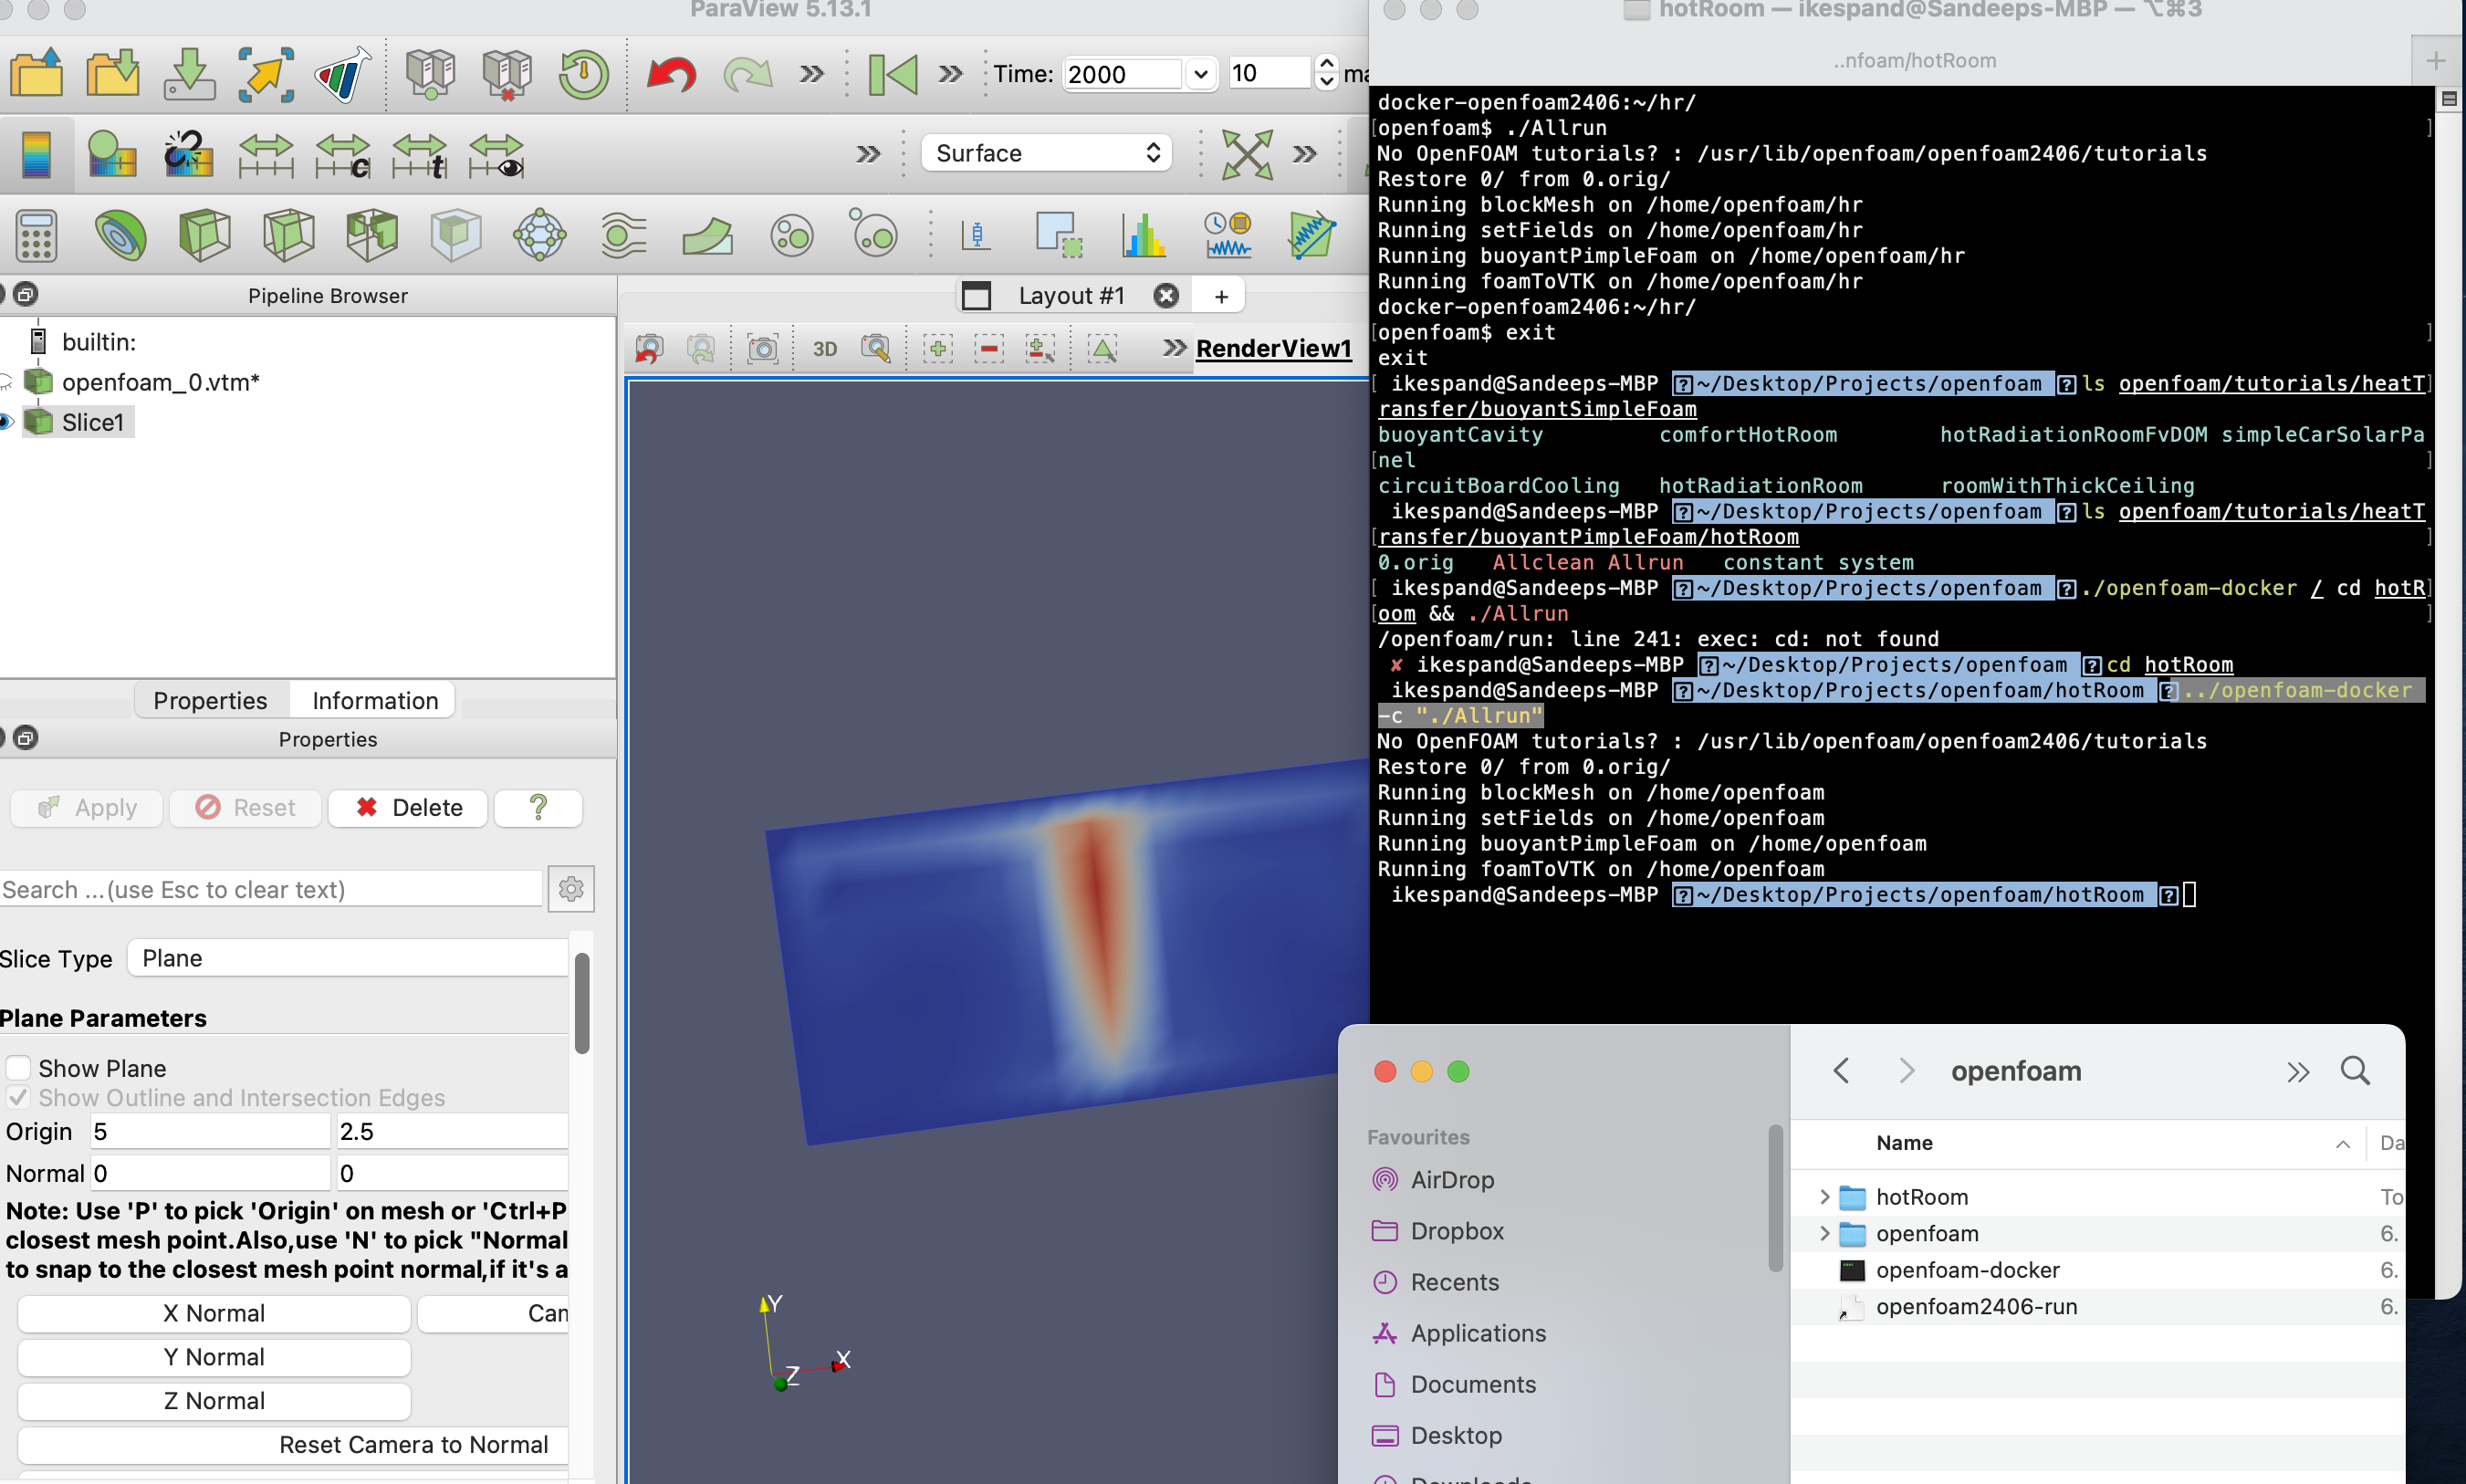
hotRoomdir execute (assumingopenfoma-dockeris available in parent dir):../openfoam-docker -c "./Allrun"After the simulation is finished, then we can visualize the VTK file in Paraview as shown in the following screenshot. Additionally, one can see the output from terminal and the dir structure for reference.

- For the sake of simplicity, we copy a sample case from the above cloned repo. Here, I am using
Connect with me on LinkedIn for any questions! 
